Understanding Drywall Painting: Basics and Best Practices
Painting drywall is an essential aspect of home improvement and interior design that not only enhances the aesthetics of your living spaces but also protects your walls from damage and decay. A well-executed drywall painting project can transform a dull space into a vibrant environment conducive to living, working, and entertaining. In this guide, we will explore the intricacies of drywall painting, from understanding the basics to troubleshooting common issues and maintaining your painted surfaces.
Before we dive into the nitty-gritty of drywall painting, it’s vital to understand the foundational aspects that drive the best practices. Whether you’re a DIY enthusiast or a professional contractor, mastering these can ensure your project is both effective and visually appealing. It’s also essential for you to be aware of drywall painting tips and techniques that go beyond the basics.
What is Drywall Painting?
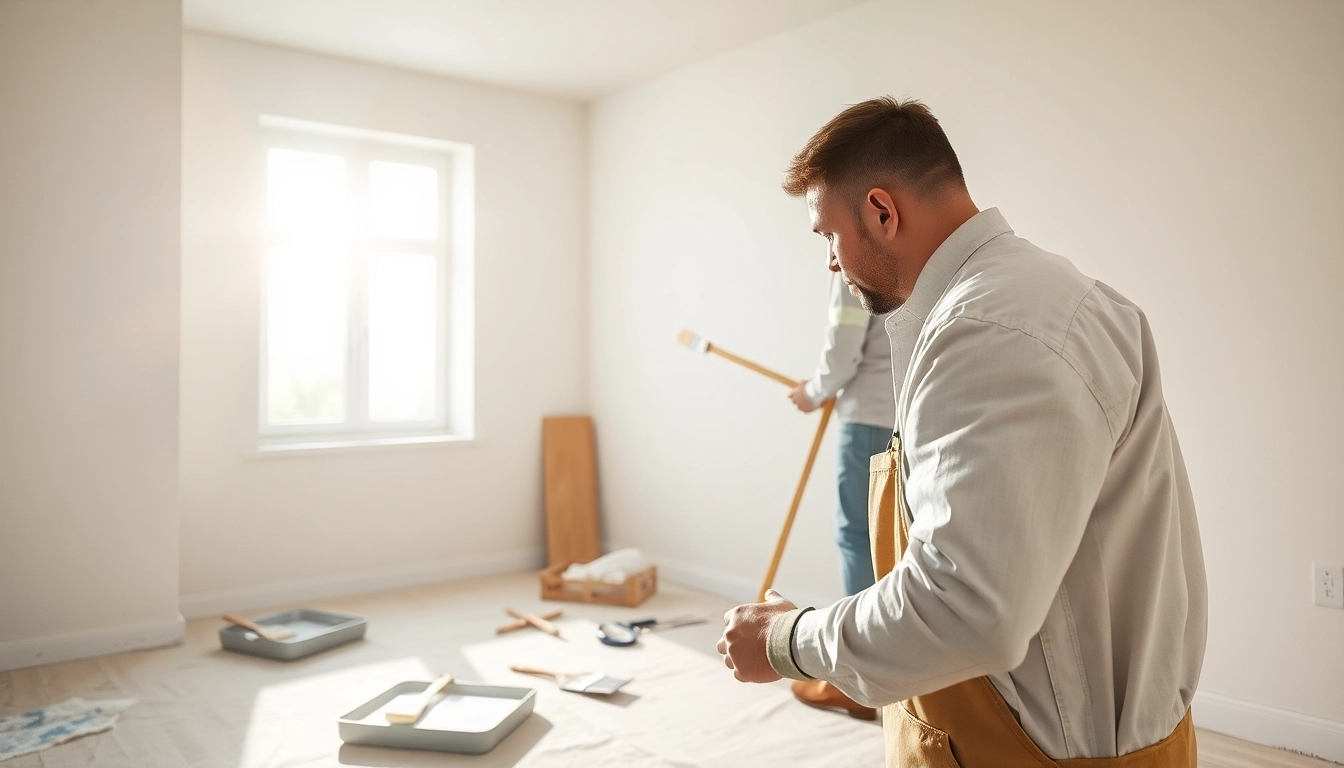
Drywall painting refers to the process of applying paint to drywall surfaces, which are made from gypsum plaster sandwiched between two sheets of heavy paper. This process usually follows the installation of drywall sheets in new construction or renovations. The primary goal of drywall painting is to provide an aesthetic finish while also serving protective functions, such as moisture resistance and ease of cleaning.
Essential Tools for Drywall Painting
To achieve a professional finish, it’s crucial to have the right tools at your disposal. Here’s a comprehensive list of essential tools you’ll need:
- Paint rollers and brushes (varying sizes)
- Paint trays
- Sandpaper or sanding block
- Drop cloths or plastic sheeting
- Masking tape
- Ladder or scaffolding (for higher walls)
- Drywall primer
- High-quality wall paint appropriate for your space
- Vacuum or dust cloths for cleaning
Prepping Your Space for Efficient Painting
Proper preparation is crucial for a successful drywall painting project. It not only ensures a smooth application but also enhances the longevity of your paint job. Here are the preparatory steps you should follow:
- Clear the Area: Remove furniture, decor, and any other items that may obstruct your painting area.
- Clean the Walls: Use a vacuum or damp cloth to remove dust and debris. This step is essential for the paint to adhere correctly.
- Repair Imperfections: Fill in any holes or cracks with spackling paste. Once dry, sand these areas smooth to create an even surface.
- Tape Edges: Use painter’s tape to mask areas you don’t want to paint, such as baseboards and windows.
- Protect Floors and Surfaces: Lay down drop cloths or plastic sheeting to catch drips and spills.
Choosing the Right Materials for Drywall Painting
Types of Paint Suitable for Drywall
Choosing the right type of paint is fundamental to achieving a high-quality finish. The two primary choices for drywall interiors are acrylic and latex paints. Here’s a breakdown of each:
- Acrylic Paint: This water-based paint is known for its durability and resistance to yellowing. It is ideal for high-moisture areas such as bathrooms or kitchens.
- Latex Paint: This type is popular due to its ease of use, quick drying time, and washability. Latex paints are suitable for most drywall applications, providing a smooth finish.
Understanding Primers and Their Importance
Primers are often a crucial step in the painting process, especially for new drywall. They help seal the surface and improve the adhesion of the paint. Here’s why primers matter:
- Enhances Adhesion: Primers create a binding layer between the drywall and paint, preventing flaking and peeling.
- Improves Color Coverage: Using a primer ensures that fewer coats of paint are needed, particularly when transitioning from dark to light colors.
- Seals Porous Surfaces: New drywall is porous, and a primer will help mitigate uneven absorption, ensuring a more even final coat.
Paint Finishes: Which is Best for Your Project?
The finish of your paint can greatly influence the look and durability of your wall. Here are the common types of paint finishes:
- Flat/Matte Finish: Absorbs light and hides imperfections, making it a good choice for ceilings and low-traffic areas.
- Eggshell Finish: Slightly reflective, this finish is versatile and easy to clean, making it perfect for living rooms and bedrooms.
- Satin Finish: Offers a soft sheen and durability, ideal for kitchens and bathrooms.
- Glossy Finish: Highly reflective and easy to clean, suitable for trim and accents but may highlight imperfections.
Step-by-Step Guide to Painting Drywall
Preparing Drywall for Painting
Now that you have chosen your paint and gathered your materials, it’s time to prepare the drywall surface itself. Here’s a detailed breakdown of this step:
- Inspect for Damage: Look for any visible damage, including dents or holes, and repair them accordingly.
- Lightly Sand the Surface: Sanding the drywall helps create a smooth surface. Make sure to use fine-grit sandpaper.
- Clean the Dust: After sanding, wipe down the walls with a damp cloth or vacuum the area to eliminate dust particles.
Applying Primer: Techniques for Success
Applying a coat of primer is essential for optimal paint adhesion and color accuracy. Here’s how to do it effectively:
- Select Quality Primer: Choose a high-quality primer suited for drywall.
- Use the Right Tools: A roller works well for large areas, while a brush is ideal for corners and edges.
- Apply Thin Coats: Apply the primer in thin, even coats, allowing each coat to dry before applying the next.
- Inspect for Coverage: Once dry, check if the surface is evenly covered. You may need a second coat for optimal results.
Mastering the Painting Process: Techniques and Tips
After priming, it’s time to apply the paint. Follow these techniques to achieve a flawless finish:
- Cut In Edges: Start by painting the edges and corners with a brush for precise lines, known as “cutting in.”
- Roll the Walls: Use a roller for larger surfaces. Apply the paint in a “W” or “M” motion to distribute it evenly.
- Watch for Drips: Periodically check for drips and smooth them out immediately with the roller or brush.
- Multiple Coats: Depending on the color, you may need to apply 2-4 coats of paint. Allow sufficient drying time between each coat.
Troubleshooting Common Drywall Painting Issues
Addressing Peeling and Flaking Paint
One common problem is peeling or flaking paint, which can occur due to inadequate surface preparation or paint application. Here’s how to address it:
- Identify the Cause: Check if the paint was applied to a dirty surface or if the wrong primer was used.
- Remove Peeling Areas: Use a putty knife to remove any peeling paint gently.
- Reprimed and Paint: Reapply primer to the affected spots and repaint.
Dealing with Uneven Coats and Streaks
Uneven coats often arise from inconsistent application or improper dilution of paint. Here’s how to fix it:
- Assess the Damage: Identify where the uneven spots are located.
- Sand the Area: Lightly sand the uneven areas to create a smooth surface.
- Reapply Paint: Apply additional coats as needed to achieve uniform coverage.
How to Repair Mistakes in Drywall Painting
Making mistakes while painting is common, but many can be easily rectified:
- Splash Marks: If paint splashes onto unwanted areas, a damp cloth can usually clean it up before it dries.
- Color Smudges: If two colors overlap, carefully scrape the area with a putty knife and repaint as needed.
- Texture Issues: If the paint appears blotchy, additional coats may be necessary to achieve an even appearance.
Maintaining Your Painted Drywall
Cleaning and Caring for Painted Surfaces
Once your drywall is painted, proper care will prolong the life of your paint job. Here are some tips for maintenance:
- Regular Dusting: Use a microfiber cloth to dust walls periodically, preventing dirt buildup.
- Spot Cleaning: For stains, use a sponge with mild detergent and water. Avoid abrasive cleaners that can damage the paint.
- Inspect for Damage: Regularly check for chips or scratches and touch them up promptly.
When to Repaint Your Drywall
Knowing when to repaint is crucial for maintaining your home’s aesthetics. Signs it may be time to repaint include:
- Fading or discoloration of the paint
- Visible wear and tear or damage
- After major renovations or before a new occupant moves in
Upgrading Your Space: Choosing New Colors and Designs
When considering repainting, assess your current color scheme. Trends in colors can change, and so can your personal taste. Choosing colors that match the ambiance you want creates effectively tailored spaces.
Consider testing out paint samples on your walls before making final decisions. You can also mix certain shades to create your own unique palette!


